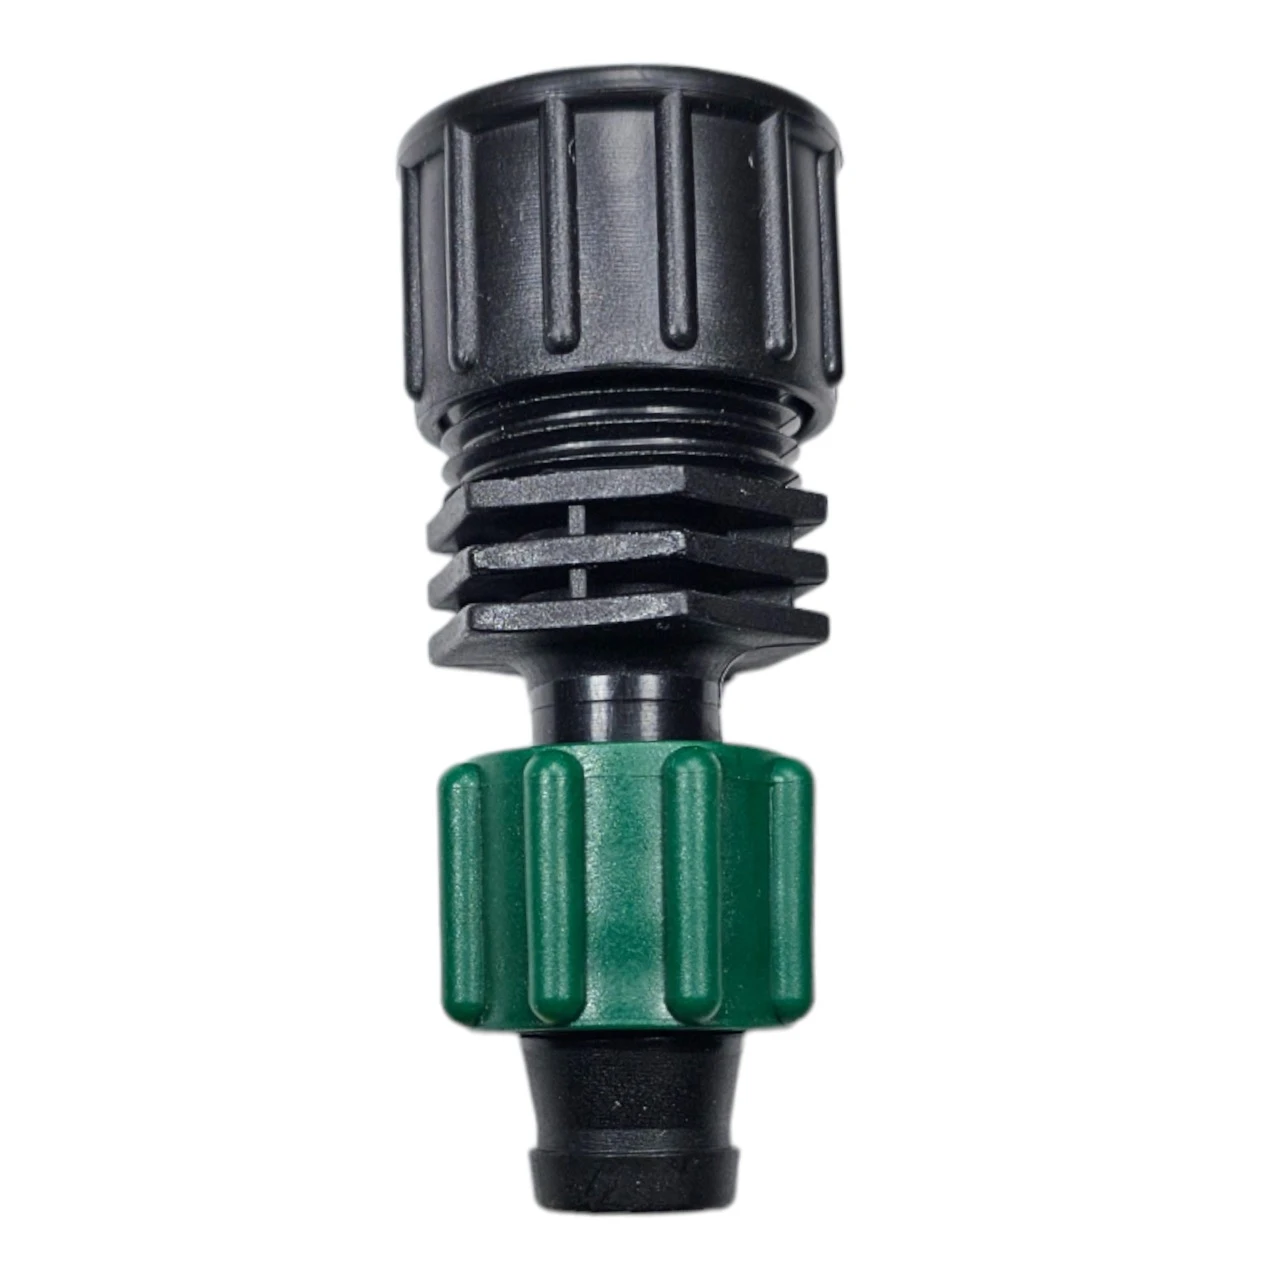
The Tape Loc x Male End Cap is the professional-grade solution for closing off the ends of your drip tape rows. Unlike simple "fold-over" methods, this fitting provides a positive, leak-proof seal that can handle pressure surges. Most importantly, it features a removable 3/4" hose cap on a Male Hose Thread (MHT) outlet, allowing you to quickly flush out sediment and debris from your lines without removing the entire fitting.
Unlike simple "fold-and-crimp" methods that can leak or be difficult to undo, this professional irrigation fitting uses the proven Tape Loc nut to grip the tape securely. When it's time to flush out debris or winterize your system, simply unscrew the end cap—no need to disturb the tape connection itself.
Why Choose Tape Loc End Caps?
Integrated Flush Point: The 3/4" MHT end comes with a screw-on cap. Simply unscrew the cap to flush the line of accumulated grit and then replace it—no cutting or re-taping required.
Blowout-Proof Seal: The locking nut mechanically clamps the 5/8" drip tape over the internal barb, creating "annular compression" that holds firm up to the tape's maximum pressure rating.
Tool-Free Operation: The large, textured locking nut and hose-thread cap are designed for easy hand-tightening in the field.
Chemical & UV Resistant: Molded from heavy-duty, UV-stabilized polypropylene to resist degradation from sunlight and common agricultural fertilizers.
Fully Reusable: At the end of the season, simply unlock the nut to remove the fitting and store it for next year.
Technical Specifications
Detailed specifications for system integration.
Specification
Details
Product Type
Tape Loc x Male Hose Thread End Cap
Connection 1 (Tape)
Tape Loc (Fits 5/8" Drip Tape)
Connection 2 (Flush)
3/4" Male Hose Thread (MHT) with Removable Cap
Operating Pressure
0 - 15 PSI (Do not exceed tape rating)
Material
Polypropylene with UV Stabilizers
MPN
A1-T5CAP
Common Brand Names
Irritec, Perma-Loc, Twist-N-Lok
How to Install: A Step-by-Step Guide
Follow these steps to seal and maintain your drip tape rows.
Step 1: Prep the Tape
Ensure the threaded cap is screwed on tightly to the end of the fitting. Cut your drip tape squarely with scissors. Critical Tip: Inspect the cut end. If there is a hard plastic emitter inside the tape within the first inch, cut it off.
Step 2: Prepare the Fitting
Rotate the Tape Loc nut backwards (towards the threaded end) to expose the sharp tape barb. Do not remove the nut completely.
Step 3: Insert and Lock
Slide the drip tape over the barb until it hits the stop. Twist the locking nut forward over the tape until hand-tight to complete the seal.
Step 4: Maintenance (Flushing)
To flush the line, simply unscrew the black 3/4" end cap while the system is pressurized. Once clear water flows, turn off the water and screw the cap back on.