Winterizing Raised Garden Beds
Apr 4th 2023
After a successful gardening season, we must prepare our garden beds for winter as the days get cooler and shorter. Most of us are familiar with "putting your garden to bed" for winter. Winterizing your garden protects your plants and creates a solid foundation for next year's garden crops.
Step 1# Before a severe freeze, disconnect your timers, filters, and regulators from your faucet, drain all the water, and store them in your garage, basement, or shed.
Step 2# Draining the drip lines by removing the end cap and then replacing them so that no dirt or bugs crawl into the lines is a must. Draining your system will protect the fittings and emitters when a surprise or inevitable freeze occurs. Some people might also use compressed air to clear all the water from their drip system. If using compressed air, no more than 20 PSI is suggested to avoid damaging your tubing.
Step 3# Fall is the time to cut back dead perennial leaves to a few inches above the soil and add a layer of mulch. If you notice any disease, remove the top layer of dirt or mulch around the plant and replace it with new soil and mulch.
If you have young fruit trees, check online for proper pruning methods for each specific type of tree. Now is an excellent time to prune some types of fruit trees, and spring is the best time for pruning others. Two of the best pruners available are the Felco #2 pruners and the Fiskars Telescoping Power Lever Bypass Lopper, which will make easy work of what used to be a strenuous chore.
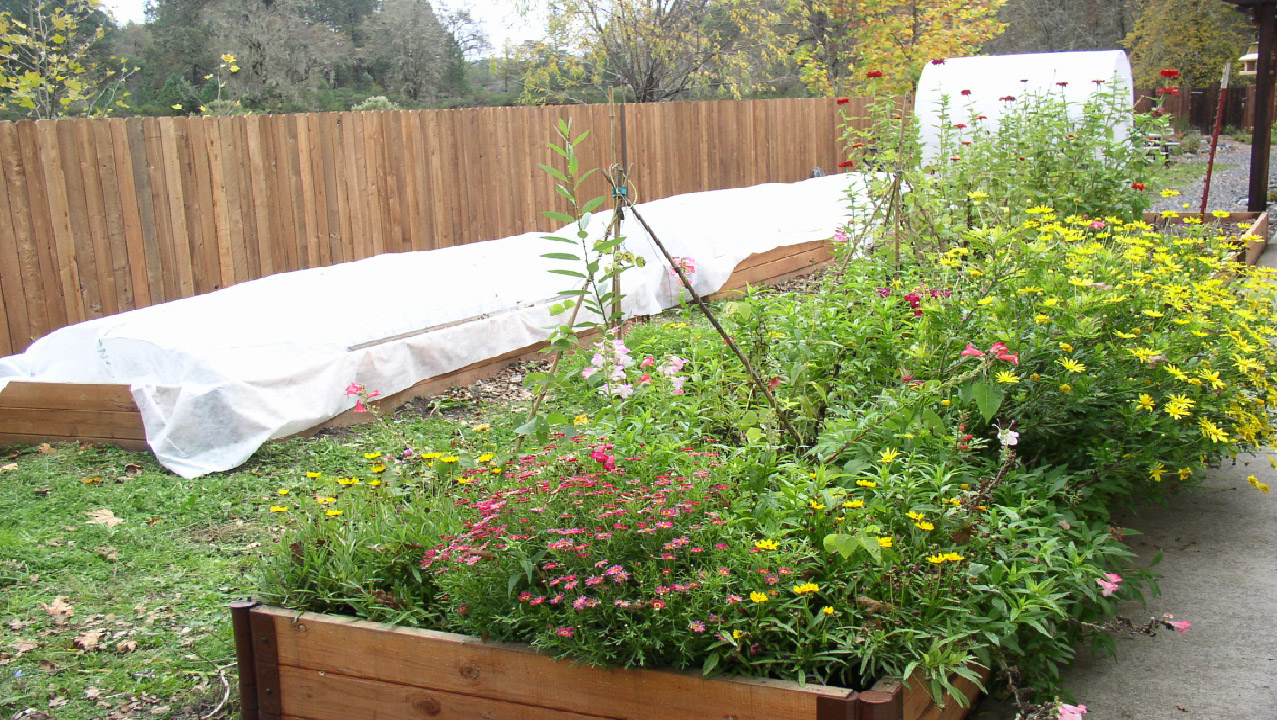
Step 4# Cover and protect your plants. People who live on the west coast through the Southwest and across the Southern states of the US will grow using row covers or in High-Tunnels. Late fall and winter vegetables need to be under a blanket of GCI Row Cover. Place the row cover across the length of your bed to protect your plants.
Step 5# Inspect the garden bed. Check for damage or any repairs and ensure any necessary repairs are done before your next growing season. Replace any lumber or hardware that may have been damaged during the season.
Step 6# Clean out all weeds. It's not a fun job, but someone has to do it along with dead leaves, plant parts, and invasive or diseased plants. Removing weeds in the fall is easier because the mature roots are easier to see and pull out.
Step 7# Mulch, I can't say it enough. There are many reasons to mulch: to suppress weeds, conserve moisture, moderate soil temperature, and protect the soil from erosion. If you use organic mulch, you'll be building your soil too! As the mulch breaks down, it becomes soil, and the roots will appreciate it. The micro-organisms in the soil help plants to take up nutrients. They don't like to bake in the sun or freeze in the winter. Choose the right material for your mulch because some may become the right habitat for pests and mold. Ensure that all mulches used in the vegetable garden or under trees are organic.
When you're finished preparing the garden beds for winter, you will be glad you did. Now you can rest easy by the warmth of the fireplace with a book in hand. Your efforts will pay off.

