How to Transform Your Sprinkler System to Drip
Aug 17th 2016
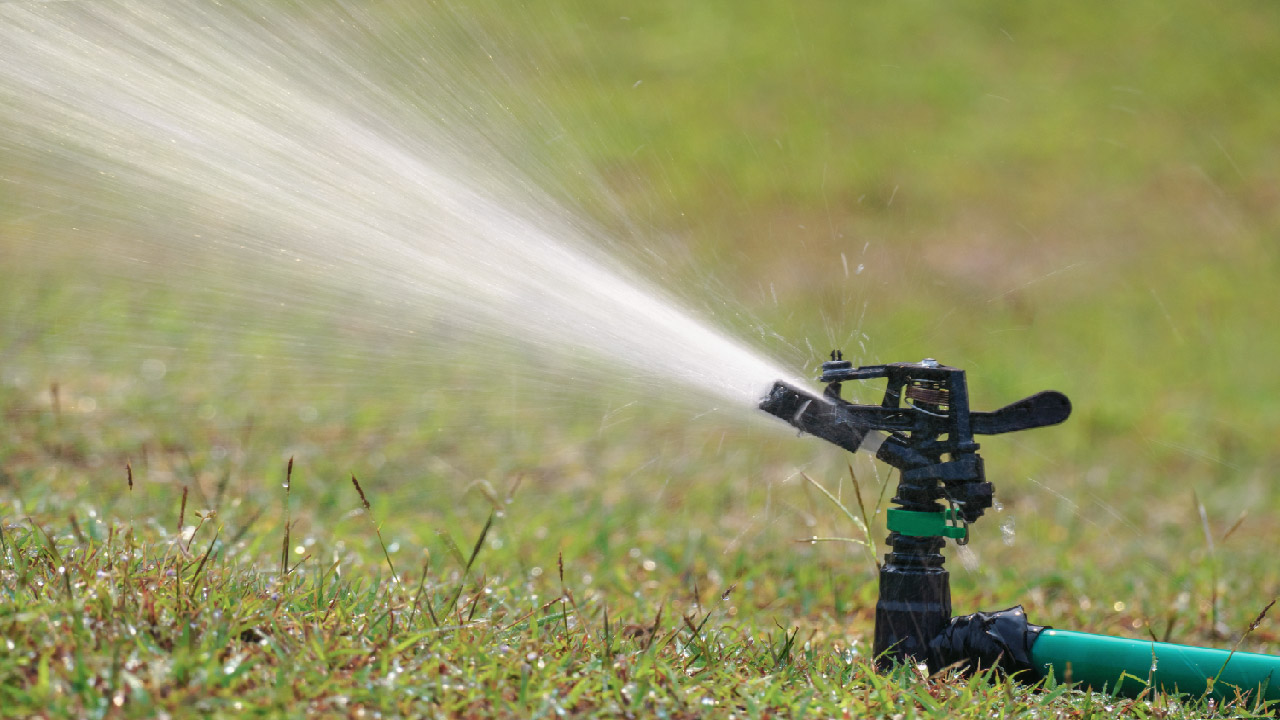
As water becomes more precious and our lives get busier, it’s becoming increasingly important to have an efficient irrigation system. Many gardeners and growers are converting their sprinkler systems to drip irrigation because it is more precise, efficient, and easier to maintain. In fact, drip systems are known to use up to 70% less water than the sprinkler systems we’re all used to dealing with. Drip systems are also incredibly diverse in their ability to water any terrain, from gardens around your home to hillsides, vineyards, orchards, or row crops.
Beyond the initial investment, converting your water-guzzling sprinklers into a drip irrigation system is a no-brainer. Your plants will be healthier. Weeds will be fewer. And your water bills will be lower. The amount of money saved will pay you back for the expense of buying a starter drip kit the first season. Follow this step-by-step guide to attain the most seamless means for trading up. You’ll end up saving time, water, and money.
Outline Your Plan of Attack
The first step to converting your sprinkler setup into a drip system is to take an audit of your current layout and space. Where is your main water source? What’s your system’s water pressure? How many sprinklers do you have and how are they laid out? As soon as you have a clear grasp on what your plan looks like, you can grab all of the parts you’ll need in an easy to assemble kit. The best way to do this is to purchase one of our pre-made kits.
Get the Pressure Regulation and Filtration Right
The recommended working pressure of drip irrigation systems is often lower than your actual water pressure. If this is so, you will need a pressure regulator to control (reduce) incoming water pressure. Install the regulator near the start of your system, ideally right after your control valve or faucet.
Drip emitters have small orifices and pathways that can clog. To prevent this from occurring, you should install a filter. If the water is relatively clean (e.g. city water or a clean well) you can simply install a screen washer or tee filter on each riser. If you are dealing with something more like a live body of water (pond, river, or creek) or runoff you will want to install a larger heavy duty filter on the main supply line.
Install Your Drip System
Turn Off Your Water Supply
As many gardeners have learned the hard way, it’s a best practice to start each project by turning your irrigation system off at the main valve of your water supply. Neglecting to do so may cause flooding and a little something we like to call #IrrigationFail.
Drip Line
It’s possible to install the mainline of your drip irrigation system either underground or above ground, although it’s more difficult to spot leaks if tubing is below ground. We recommend mulching over the tubing, because it looks better, lasts longer, prevents people from tripping, protects the tubing from environmental hazards, and increases the overall lifespan of your system. You will probably find covering the mainline to be aesthetically pleasing too.
Cap Off Old Sprinklers
After your drip irrigation system is installed, seal off unneeded sprinkler heads with a threaded cap.
Update Your Watering Practices
Congratulations. Your drip irrigation system is almost complete. Now it’s time to start reaping the rewards. Go ahead and update that watering schedule to take into account the fact that your plants will sip water much more effectively than before.
Use a bluetooth timer like the one explained in the video above to increase efficiency and water your new system automatically.


