
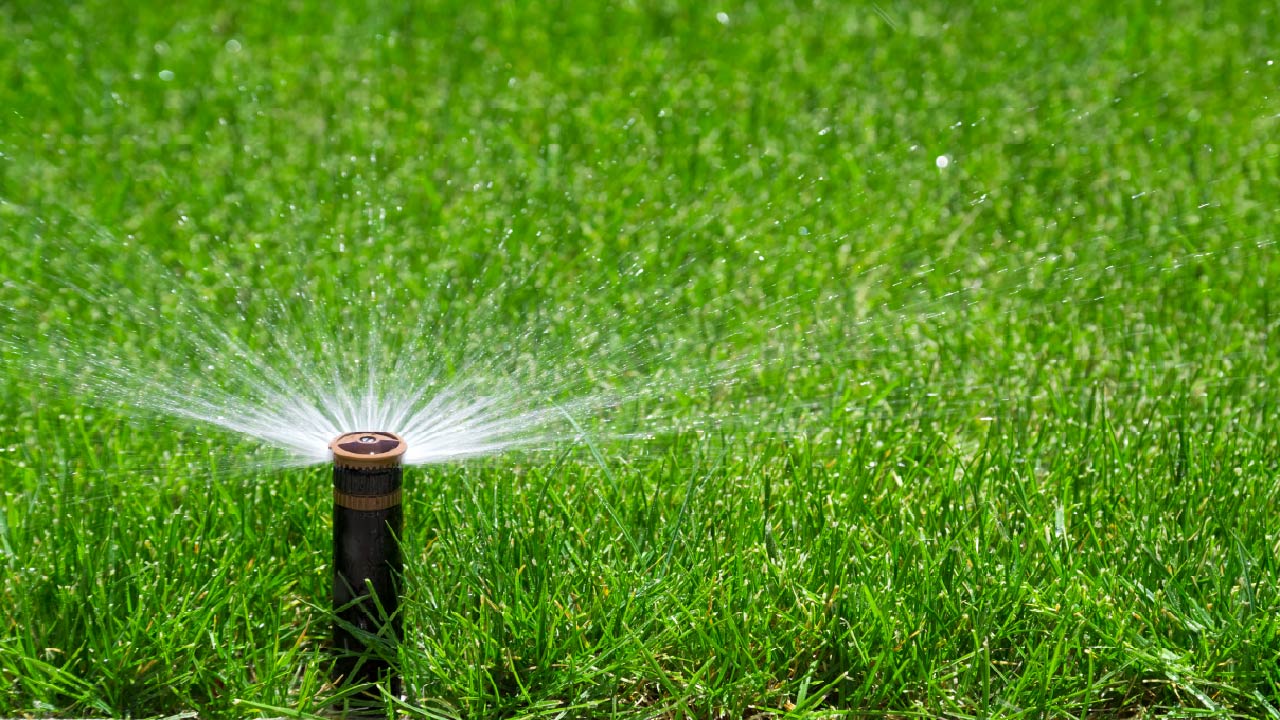
Top 5 Summer Maintenance Tips for Sprinkler Systems
Aug 3rd 2026
Summer is when your sprinkler system works the hardest on long, hot sunny days. High water demand and frequent irrigation cycles in summer put every sprinkler component under pressure. Many homeowners think sprinkler maintenance is only done in spring when you restart the system, or in fall before winterization. However, the middle of summer is when maintenance matters the most.
As soil moisture drops and evapotranspiration (ET) rates peak, a sprinkler system working at even 70% efficiency in summer will leave dry patches, waste thousands of gallons of water, and increase water bills. A small issue that goes unnoticed in July can waste plenty of water, create brown patches, increase water bills, or even damage your landscape by August. This makes it super important to perform mid-summer maintenance of your sprinkler system.
Here are the top five high-impact summer sprinkler maintenance strategies to optimize water efficiency, protect your landscape on hot days, and prevent costly system failures.
Do a "Catch Can" Test to Check Water Distribution Uniformity
If you only run each zone to inspect and look for problems, that helps you spot a head that doesn't pop up or a puddle in a yard area where there shouldn't be one. But it misses the most expensive summer problem, which is uneven water distribution. Everything else is pointless without knowing your system's actual precipitation rate (inches of water delivered per hour) and distribution uniformity.
Uneven distribution quietly kills grass in patches while you think everything is working smoothly. The first maintenance tip is to do a catch can test to identify exactly where water is missing and where it is being wasted.
Here is how to do it.
- Place several identical, straight-sided containers or cans at various points across your landscape in a specific zone.
- Run that zone for around 10 to 15 minutes.
- Now measure the water depth in each container with a ruler.
Result Analysis
If the numbers vary wildly, like a quarter inch in one spot and an inch and a half in another, it shows your system has a distribution uniformity problem, not just a broken head. This usually means pressure issues, mismatched nozzle types on the same zone or heads that have sunken or tilted out of position.
The Top 7 Lawn Sprinklers for Thriving Grass in 2026
Flush the System and Clean the Nozzles Mid-Summer
The Summer season brings rapid turf growth, lawn mower traffic, and soil shifting. Lawnmowers often bump into pop-up heads, twist their arc settings out of alignment, or push them below soil grade. Summer's higher water demand pulls more sediment through the system, and that sediment collects on nozzle screens long before it's visible at the nozzle tip. So, this is a time to clean the nozzle and filter screen beneath it.
Most homeowners know to unclog a spray nozzle, but only fewer people check the small filter screen sitting just beneath it, inside the head itself.
Throughout summer, irrigation lines collect sand, organic debris, small rocks, and tiny insects. These particles slowly clog sprinkler nozzles. A head that sprays an irregular, half-circle pattern or dribbles instead of spraying usually has a clogged internal filter. It is not just due to a clogged nozzle, and cleaning the nozzle alone won't fix it. The solution is to flush the lines and clean both the nozzle and filter.
Flushing an Irrigation Zone
- Turn off the irrigation system.
- Remove the last sprinkler nozzle on each zone.
- Turn the zone on for a few minutes.
- Allow water to remove debris.
- Reinstall the nozzle.
- Repeat the same process for other zones.
This process removes sediment before it reaches additional sprinkler heads. Do it once a month.
Summer Nozzle-and-Filter Cleaning Routine
- Twist and pull the pop-up riser. Don't unscrew it unless the manufacturer says to.
- Remove the small filter screen with tweezers or pliers.
- Rinse both the nozzle and the filter under running water. Use a soft nylon brush to remove any stubborn mineral buildup.
- Reassemble the head and test before moving to the next head.
Inspect Valve Boxes for Slow Underground Leaks
A leaking irrigation valve due to a crack can lead to a zone that either won't shut off, runs at low pressure, or doesn't activate at all, despite correct wiring and a controller.
There is a rubber diaphragm inside the irrigation valve that opens and closes to control water flow. Summer heat can damage this rubber, especially when the valve is in valve boxes sitting in direct sun or in warm soil. When it cracks or warps, valves stick open, which wastes lots of water, or remain shut, which leaves zones dry.
Slow underground leaks can be harder to detect. You must inspect every valve box during summer. Here are the warning signs of underground leaks in valve boxes.
Warning Signs:
- Constant moisture around the box
- Mud inside the valve box
- Water pooling after irrigation stops
- Grass growing faster around one valve
- Mold or algae growth inside the box
- Small insects near damp soil
How to Spot the Leak
Here's how to catch this before it becomes a bigger issue:
- Open valve boxes mid-summer and check for standing water. It indicates a diaphragm or seal failure.
- Listen for valve sounds that click but don't fully work. A delayed sound is an early warning sign.
- If a zone's pressure has dropped significantly compared to earlier in the season, inspect the diaphragm before assuming the problem is somewhere else in the line.
Solution: Replace a diaphragm. It may cost a few dollars and ten minutes, but not catching one costs you a flooded zone or a dead one for weeks.
The Top Residential Lawn Sprinkler Heads for Your Home
Recheck Head Height and Angle
This maintenance tip is specific to the summer season because it's caused by frequent mowing. Sprinkler heads may gradually sink below soil level over time, and this is one of the most overlooked summer problems.
As grass grows fast in warm weather, lawn mowers and trimmers bump, and sometimes bury sprinkler heads that were perfectly aligned in spring. A head that's moved even 10-15 degrees can throw water onto sidewalks, driveways, or fences instead of your lawn.
Here are signs that your heads have shifted from their original position:
- Water spraying hardscape surfaces that weren't getting wet before.
- A head sitting slightly lower or higher than the surrounding turf line.
- Spray patterns that don't overlap with neighboring heads, leaving gaps or double-coverage zones.
What should you do?
Inspect your system every month through summer and manually straighten or adjust heads as needed. This tip that you can add to your routine mowing visits. It takes seconds to adjust the head height and prevents wasted water, dry patches, or wet sidewalks. Another option is to install a sprinkler riser, so the nozzle sits right with the finished grade.
Rotor vs Spray Sprinkler Heads: The Best One for Your Landscape?
Check Pressure Regulation Problems as Water Demand Peaks
When every landscaper runs irrigation systems in overlapping windows, and the water demand is at its peak, municipal water pressure can drop or spike. Pressure problems don't always mean low pressure. High pressure can also be a big problem.
Low pressure means poor spray distance and coverage gaps. High pressure usually occurs when neighboring systems shut off suddenly, causing misting and wear on rotor heads and valves.
System Pressure Test
Inspect your sprinklers during different watering times. If spray patterns look different between morning and evening, pressure fluctuations may be affecting its performance.
What to do about it?
Install pressure-regulating spray heads or a whole-system pressure regulator if your area experiences pressure fluctuations.
Change your watering schedule to avoid the most crowded times, which are usually 4 to 6 am.
If you notice fine mist rather than droplets coming from spray heads, this is a pressure problem, not a nozzle problem. Install pressure-regulating bodies to fix it instead of replacing nozzles.
Bonus Summer Maintenance Sprinkler System Habits
- Clean clogged nozzles regularly.
- Trim landscaping around sprinklers and remove grass growing over heads.
- Replace cracked nozzles.
- Tighten loose fitting connections.
- Install high-efficiency rotor sprinklers in windy zones.
- Verify timer settings are according to current weather conditions and landscape needs.
- Ensure rain and soil moisture sensors are working efficiently.
- Inspect wiring around valve boxes.
- Look for erosion around sprinkler heads.
- Ensure every zone shuts off completely.
Summer Watering Guide for 2026: Best Tips for a Greener Lawn
The Bottom Line
Proper and consistent maintenance of your sprinkler system is crucial to maintaining a lush-looking lawn, not only during the summer but also at other times of the year. Performing a complete inspection of your entire sprinkler system when the weather begins to get warmer is best due to the wear and tear it's likely had during the winter.
The tasks of sprinkler maintenance don't change much between seasons, but the timing and conditions do. A clog in spring and a nozzle clog in peak summer might look the same, but the summer version happens under more pressure, with faster mineral buildup and more heat. Regular system care will save you money on costly repairs and extend the life of your sprinkler system, making it a smart investment.