How to Fix a Leak in a Drip Irrigation System
Nov 17th 2025
Drip irrigation is the most efficient and popular water-wise method of irrigating plants, vegetables, fruits, herbs, and flowers. These systems provide gardeners, farmers, and homeowners with the most efficient way to water plants while also conserving water resources.
Like any watering system, drip irrigation can encounter issues over time, including leaking connections, clogged emitters, damaged tubing, and leaks. Pressure builds, tubing gets stepped on, and harsh weather can wear on the drip irrigation components. When an unexpected leak occurs in your drip system, it is usually because the tubing has been damaged by a rodent or gopher, or for any other reason. The ability to fix these leaks immediately saves time, money, and water. Also, it protects your landscape.
This drip irrigation repair guide focuses on repairing a leak in the drip system to ensure efficient water delivery to your plants.
Tools Needed for Drip Irrigation Repair
Before performing drip irrigation repair, gather the necessary tools and materials to make the repair faster and easier.
Steps to Fix a Leak in a Drip Irrigation System
Locate the Leak
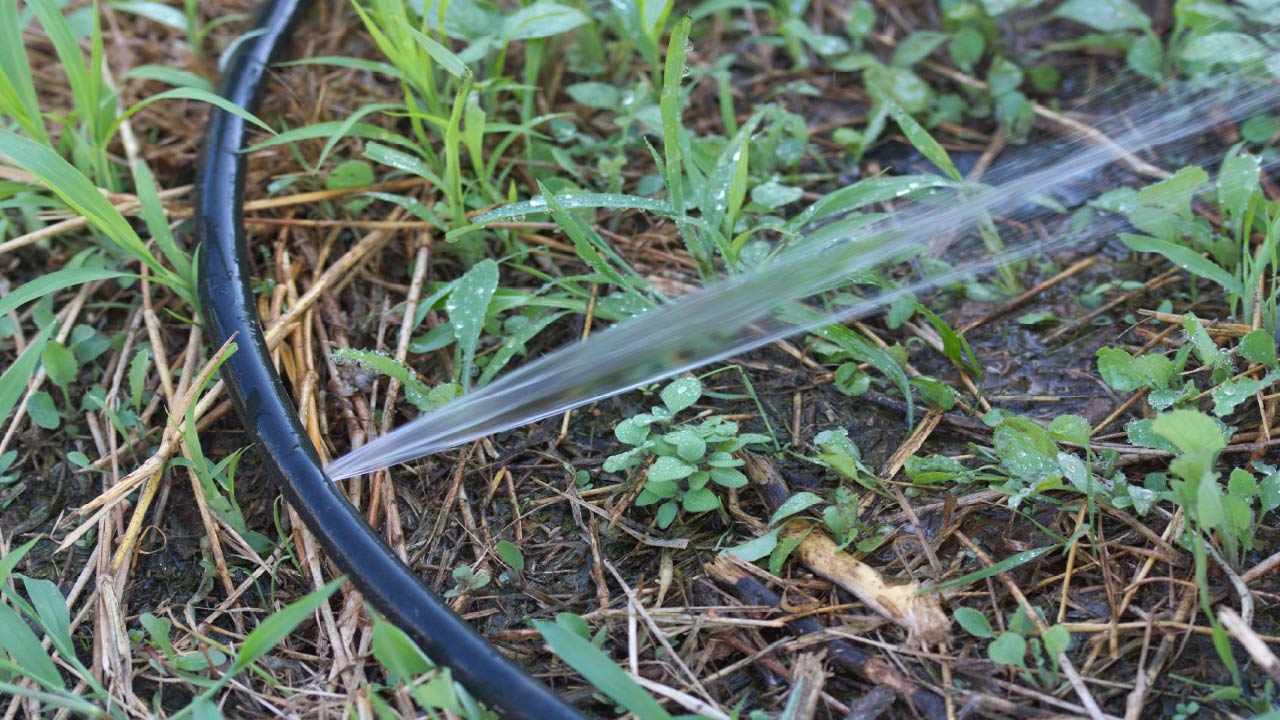
Determine the exact location of the leak. Walk along your drip tubing and check for areas where water is squirting out or pooling near it. Such visible leaks indicate a breakage or a hole. Locate the damaged part and dig it up if necessary.
Turn Off the Water Supply
Before you start working on your drip irrigation system, ensure that you turn off the water supply to prevent accidental spray. This step is essential to prevent water from leaking or spilling while working with the components. By turning off the water, you'll stay dry and easily locate the problem.
Remove the Damaged Section
Use a sharp hose cutter or utility knife to make clean cuts on both sides of the damaged part as close as possible to the break. This reduces the part of the tubing you will need to replace. When making cuts in tubing, make smooth cuts because jagged cuts may prevent secure connections with couplers.
Insert the Coupler
If the hole is large, reconnect both ends of the tubing using a coupler, or add a new section of tubing using two couplers.
Test the Repair
Turn on the water supply to the repaired area and carefully inspect the repaired section for any signs of leaks near the coupler or tubing connection points. If any leaks still exist, push the tubing further into the coupler or double-check the fitting to ensure a secure connection.
Cover the Repaired Area
Once you've confirmed that the drip irrigation repair is complete, cover the repaired section with mulch or soil to protect it from direct sunlight exposure, which can weaken the tubing over time and from accidental damage. Covering also ensures it blends perfectly into your drip irrigation setup for an aesthetically beautiful result.
How to Fix Small Holes
Small holes in drip tubing can waste water and reduce system performance, but repairing these small leaks with goof plugs is simple and cheap. Goof plugs are small, sturdy plastic plugs designed to seal minor leaks in drip systems. Holes from barbed emitters and fittings are sealed with the Goof Plug.
Here is how to use goof plugs:
- Find the hole in your tubing.
- Push the goof plug securely into it until it stops leaking. Gently push it down to help secure its placement.
- Once it is in, the plug will stop leakage and restore the tubing's efficiency.
Read More: Troubleshooting Emitters and Driplines
How to Repair Clogged or Damaged Emitters in a Drip Irrigation System
Drip emitters can get clogged with dirt and debris, or they may break, resulting in a poor water flow.
Here are the steps to replace clogged and damaged emitters.
- If the dripper is clogged, remove it from the drip tubing and flush it with water. Then, clean remaining debris from its holes using a small brush.
- Once it is cleaned, reattach it to ensure it works properly.
- If cleaning does not fix the problem or if an emitter has been damaged, replacing it is the best option. Detach the emitter and install a new emitter to restore system efficiency.
Maintenance Tips for Drip Irrigation System
- The first tip is to inspect your drip irrigation system regularly for any leaks, clogs, and signs of damage. for areas in the garden where water is dripping or pooling unexpectedly. When you catch and address these issues early, it helps you prevent more significant problems in the future.
- Remove leaves, dirt, and other debris that could block the system. Flush the system regularly to remove any debris buildup. This allows water to flow freely, reducing the chances of blockages that can disrupt watering.
- Cover exposed tubing with soil or mulch to protect it from sun damage and prevent accidental breakages. Covering the system helps it stay out of the way.
- Adjust drip emitters and sprayers to provide proper coverage and clean filters regularly.
- In colder and harsher climates, winterize your system to prevent damage and keep it functional.
- Automate your drip irrigation system with a timer to enable a precise watering schedule at a set time.
The Bottom Line
Regular system maintenance and prompt leakage repairs are crucial to keep your drip system efficient and long-lasting, while also helping you conserve water and promote healthy plant growth. Inspect your system regularly for leaks, clean debris, winterize the system, and protect your drip tubing from potential dangers. All these preventative measures ensure your plants receive consistent water without any wastage.
DripWorks offers high-quality garden drip irrigation systems and tools needed to make drip irrigation repairs. We will ensure your garden thrives year-round and your drip system runs efficiently without any problems.

