How to Store Your Harvested Fruits and Vegetables
Sep 12th 2017
With colder nights and days and our ripe and ready vegetables getting to be more than we can consume, it’s time to think about storing some of our harvests. Drying, canning, and freezing are the three top methods of storing your garden’s bounty for enjoyment in the months ahead.
Harvesting at the peak of maturity without bruising the crop are keys to successful storage for most crops. Bruised or immature vegetables might do well in soup, but don’t have a long life even under the best of conditions. If you haven’t done this already this season, next year try to pick a variety of vegetable that is best for long term storage.
Herbs are dried just by exposing the leaves, flowers, or seeds to warm, dry air, sometimes with the aid of a fan. The best time to harvest herbs is just before the flowers open, harvest in the early morning. Again, avoid bruising the leaves. Rinse herbs off to get any dust or dirt off. You can use an electric dehydrator that has multiple shelves and a thermostat set to about 115 degrees. Drying time is usually 2-4 hours. Hanging herbs is also a perfect way to dry them. Cut the whole stem (rosemary, thyme, parsley, and sage) and then tie them in small bundles away from sunlight indoors. More tender leafed herbs could be hung inside of a paper bag. Perforate the paper bag by penetrating it with a pen, scissor, or knife point. Store dried herbs in an airtight preferably glass container and a dark cabinet. These herbs should remain fresh and potent for 6-12 months.
Garlic, onions, and squash are three types of veggies that do well stored for many months in a cool dark place. I grow a years’ worth of garlic by planting in October each Fall and harvest them in late June or July. I hang them up in a cool dark place (a basement or dark building with proper ventilation) by tying their stalks in groupings of 20 or so. Onions are similar except that I’ll hang them for a few weeks and then cut off the stalks and roots and, wrap each one in tissue paper or newspaper, and store them in a breathable box for winter storage.
Canning is a safe and economical way to preserve your harvest so you can share your garden’s bounty with family and friends. Also called “putting up” your fruits and vegetables, canning is primarily done either by heating your crop in a large boiling pot to a certain temperature for a precise amount of time or by filling glass canning jars with your prepared fruit or veggies and placing them in a pressure cooker. Picking wild berries or using your homegrown berries and making jam can lead to tasty desserts or excellent breakfast toast. The USDA website (Complete Guide to Home Canning nchfp.edu/publications/publications_usda.html and other sites as well as some good books are out there to guide you through the canning process.
Freezing is a simple and easy way to preserve fruits and vegetables while retaining the most nutritional value of any of the storing methods. Refrigerated, fruits and veggies lose half of their vitamin value within one to two weeks; freezing is the best method of food storage to retain the optimum health benefit.
At home, we make pesto from basil and then freeze it in small (4 oz.) canning jars or even ice cube trays so that you only use a cube or two for each meal. Three or four plants can make enough pesto for a year. The following recipe list will produce an incredible tasty pesto:
- 3 cups of basil leaves
- 4 cloves of garlic
- ¾ cup of grated parmesan cheese
- ½ cup of olive oil
- ¼ cup of pine nuts or walnuts
- ½ cup of chopped fresh parsley (optional)
Combine the ingredients in a blender or food processor until it is relatively smooth. Pour the pesto into your canning jar almost to the top. Fill the last ¼” with olive oil, put the cap on tightly, and freeze. If you’re using ice cube trays, you’ll be able to pop out a cube or two when you need it or fill a freezer bag with the basil cubes for later using one or two cubes at a time for pasta dishes.
Blanching is an important step to do before freezing veggies. All blanching means is to put the vegetable in boiling water, take it out after a certain amount of time, and cool it off immediately in ice water to prevent them from cooking. Change the icy water after a few minutes again to stop the cooking process. Why do we recommend blanching? To leech out the bitterness (kale, and collards primarily), to prevent enzymes from damaging color, flavor, and nutrients, to partially cook items before adding them to a dish, and of course to prepare items for freezing.
After the blanching process, dry the veggies off with paper towel lined sheet pans. Pack vegetables snuggly inside freezer bags or airtight containers to avoid excess oxidation. Make sure the freezer is at its coldest setting or 0 degrees. Put no more food in the freezer than will freeze in 24 hours.
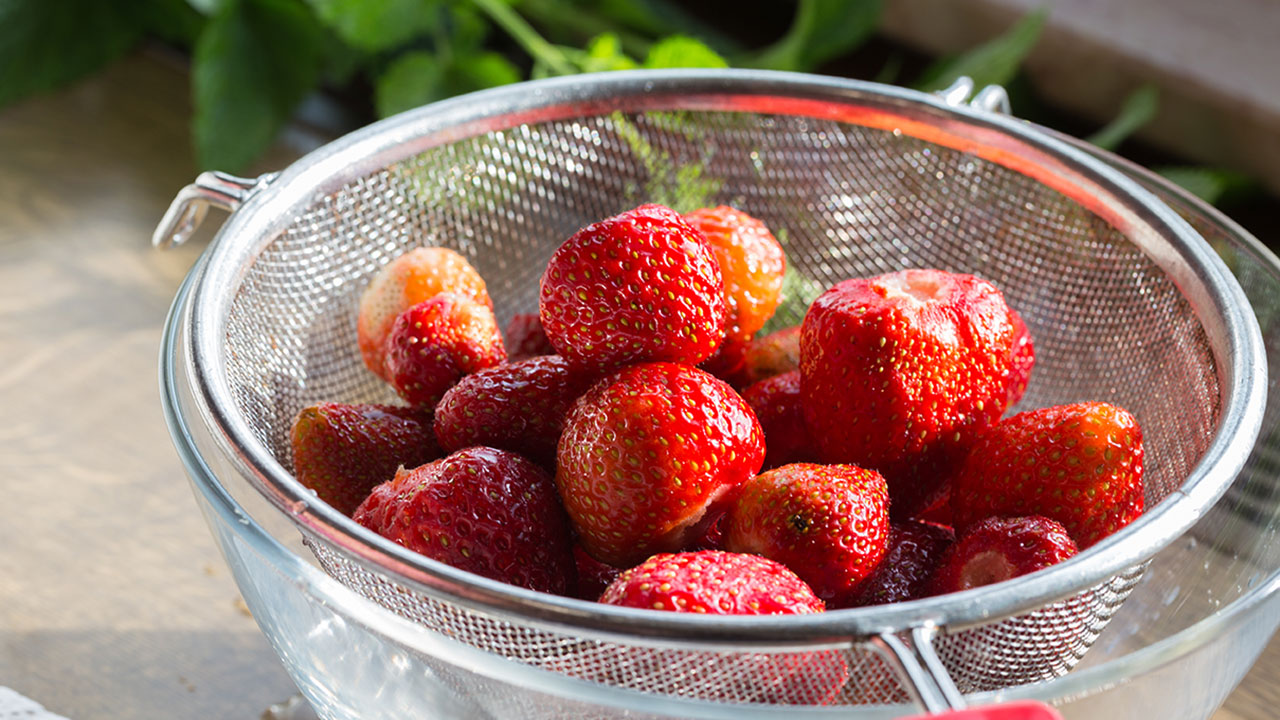
Most fruits can be frozen if they are fully ripe and unblemished. Wash the fruits in cold water first, drain the water, and dry them off. Depending what you want to do with the fruit, you may freeze them whole, halved, juiced, or pureed for use as toppings or pie fillings. Most fruits freeze better if they are packed in syrup or dusted with sugar before freezing. Do this in a bowl and mix gently. Berries can be frozen without any additional sugar as they have a very high sugar content naturally. Always leave space (1/2 inch) at the top of the container for the fruits expansion. Happy harvesting.


