How to Make a Cheap Drip Irrigation System - DIY Guide
Feb 21st 2023
You want your plants to grow healthy and strong. But all plants need water, so you may be wondering about the best way to give them a sure, steady, and environmentally friendly source of it.
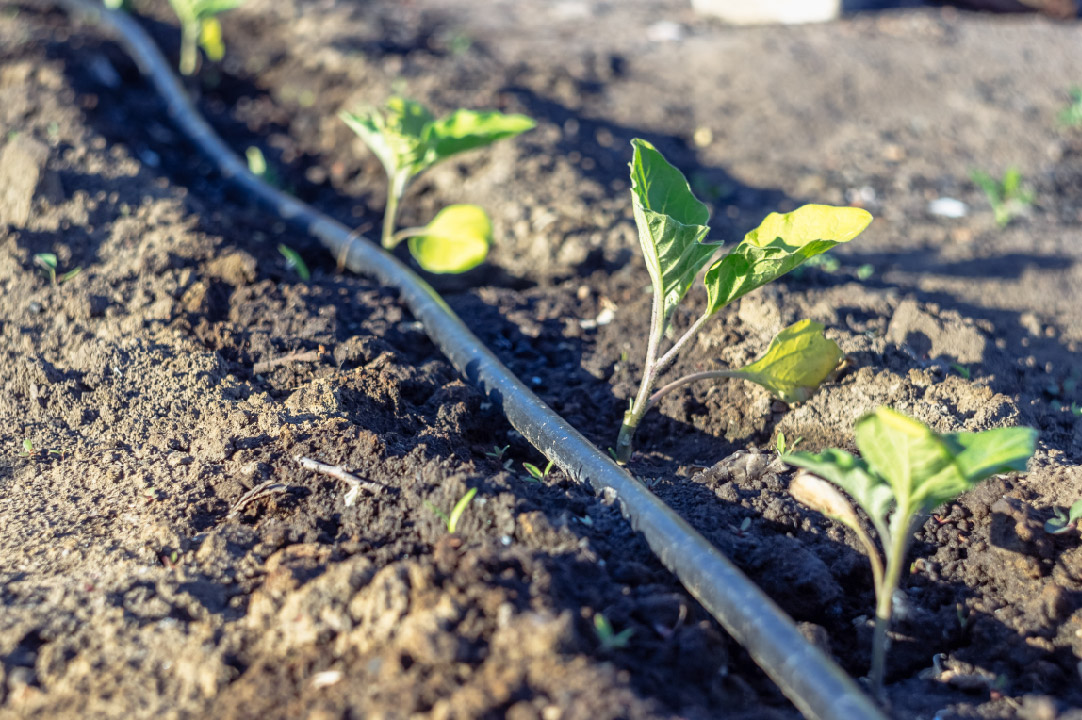
Drip irrigation offers a sensible alternative to most other watering methods. It delivers water directly to each plant rather than spraying it all over. That saves water, which is good for the planet. It also saves on utility expenses, which is good for your wallet. In addition, drip irrigation can produce healthier plants, cut down on weeding, save you time and offer other benefits.
Besides saving money on water, you may be interested in reducing expenses for your water system. DripWorks is here to help. Read on to learn how to make a cheap drip irrigation system.
Low-Cost DIY Drip Irrigation System
First, decide what kind of watering you need to do. Sketch a map or diagram of the layout you have in mind. A little bit of planning in advance can save you lots of time and problems later.
One of the cheapest ways to make your own DIY drip system is by using PVC pipe, which you can buy at low cost at your local hardware or big-box store. This method is ideal if you have a garden or other area with straight rows of plants you want to water.
Get 3/4" PVC pipe for your main water supply line and 1/2" PVC water pipes for each of your rows. Use your plan to figure out how many you will need. You will also need PVC glue and T connections to connect your system's components, end caps for the pipes and a female hose connector to attach your garden hose to the system.
Cut the 3/4" PVC pipe where you want each 1/2" row pipe to connect. Use PVC glue to attach a T coupler at each intersection you have cut.
Then cut a six-inch piece of 1/2" PVC pipe for each row. Glue one end into the T coupler. Glue a ball valve into the other end of the short piece of 1/2" pipe, making sure the handle of the valve is on top so you can turn the water on and off for each row.
Take the rest of your 1/2" pipe and cut it to the proper length for each row. Drill 1/16" holes the length of the pipe, spacing them according to your plan of how far your plants will be apart in the rows.
When you have cut and drilled your 1/2" row pipe, attach it to the ball valve. Then connect a 1/2" PVC end cap to the end of each row pipe. Also attach a 3/4" end cap to your main line. Do not glue the end caps, however. You want to be able to flush out the system in case it gets clogged with sediment, debris, or other matter.
Easy, Affordable Kits
Of course, another route to making an affordable drip irrigation system is to purchase a kit. Because a good kit has everything you need to assemble a fully functioning drip system, it can save you money compared to individually buying all the components you will need.
In addition, the right drip irrigation system kit will include full instructions that will help you assemble your system quickly and with a minimum of confusion and headaches. Some manufacturers even offer videos and assistance via phone or email to answer any questions you may have.

