How to Build a Rock Border for a Garden
Mar 1st 2023
A rock border surrounding your garden can add a touch of beauty to your property, boosting your home's curb appeal. Rock borders delineate the garden, helping to keep pedestrians and animals out. A good rock border can also discourage weeds from growing, prevent erosion and keep the soil in place in your garden.
As you can imagine, there are many ways to construct a rock border for a garden. Fortunately, unless you are contemplating something the size of the Great Wall of China, nearly all the options for building a rock border are simple and affordable to achieve.
You can build your border in a single layer with rounded river rocks or sharp-edge angular shale stacked 6 to 12 inches high. Make a wider border with small stones that have an underlay of weed barrier fabric to keep weeds from sprouting between them. A border of this type will define and accentuate the attractive plants and beautiful flowers in your garden.
Begin by sketching out the design you want. Then, determine whether you want a low and wide border or a tall rock wall. This will help you figure out the amount of materials you'll need. Next, visit your local hardware store or nursery to see what supplies are available locally. It may pay to rent a truck or have the store deliver your order. Remember, you're working with rocks. This can be tough labor, so making this stage easier on yourself would be smart.
To build a single-layer border, select attractive rocks that will look natural in your landscape. Consider whether you're building a curved or angular border, as large, rounded river rocks are ideal for circular structures. It is prudent to dig a 2- to 3-inch-deep trench with a rounded shovel to set the rocks in. Once the trench is dug, a layer of weed barrier fabric should be put in under a thin layer of mulch. Use hold down stakes to keep the fabric in place. Next, place the rocks on top of the mulch and fabric. If you want to stack rocks to make a short fieldstone wall, use rocks that are more angular. As you stack these flat or angular rocks, use a hard rubber mallet to tamp them into place.
Set each rock in place so that each one touches the next one, making a clear distinction between the soil and mulch in your garden area and the grass outside it. Once all the rocks are in place, use a hose to wet them down. Don't spray too much water on and between the rocks — just use enough to dampen the soil and allow for the rocks to set. Test each rock to make sure it is firmly in place. Let the soil dry a day or two and retest the rocks to make sure they are firmly set in place.
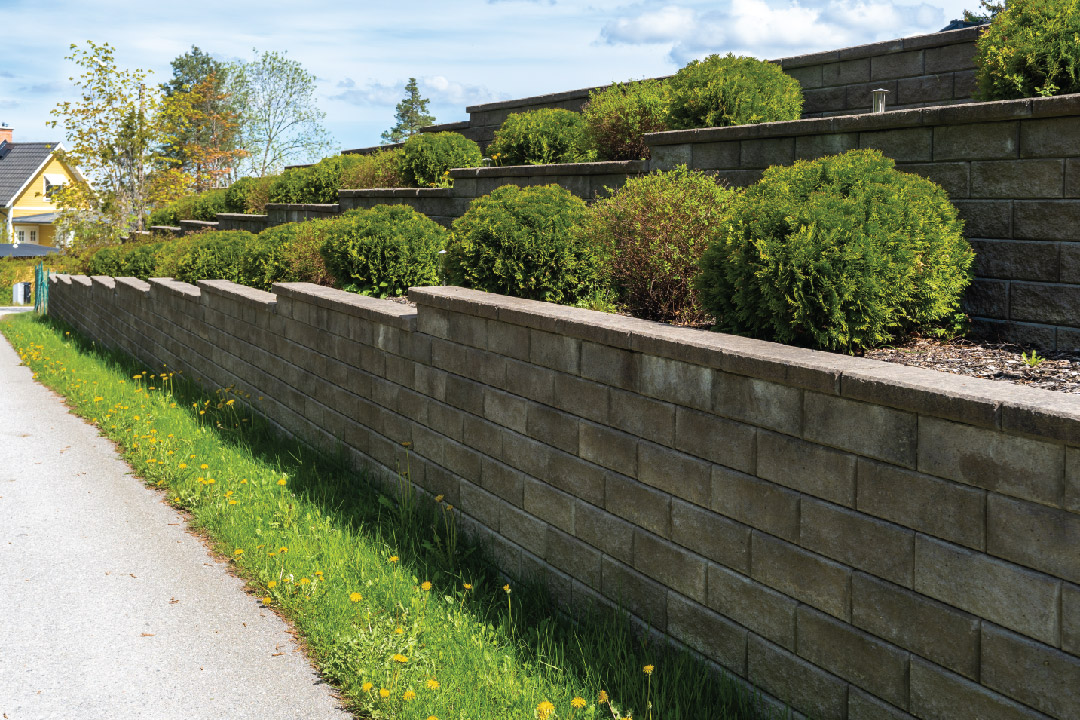
If you want to build a stacked-rock border wall, consider fieldstone, shale or other flat, angular stones. Check to see if there are any local sources for a cost-effective and organic design. Just like with a single layer, to build a stacked wall, you'll first dig a shallow trench and dampen the dug-out area by spraying it with a hose. When it has dried, begin placing your flat or angular stone in the trench and tamp the rocks in place to give the wall a solid foundation. Make sure each rock touches the next.
Then stagger the second layer of rocks over the point where each rock touches the next. As you proceed to build your garden wall, be sure to place the rocks so the wall is straight, rather than leaning. If the wall isn't perpendicular to the ground, you run the risk of an unstable wall that may fall over with a slight bump. You can drive a stake into the ground at both ends of the wall and tie a string tightly between the stakes. The string height will be the top of the wall. The maximum height of the wall should be the height you or small children could easily step over.
Stone walls or a rock border will enhance the natural beauty of your yard. Guests will be amazed by your lush garden and you'll carry a sense of pride for years to come. If you need other ideas to keep your garden growing the way you've always wanted, check out the videos and other articles from DripWorks for further inspiration.

