5 Seed Starting Tips
Apr 12th 2023
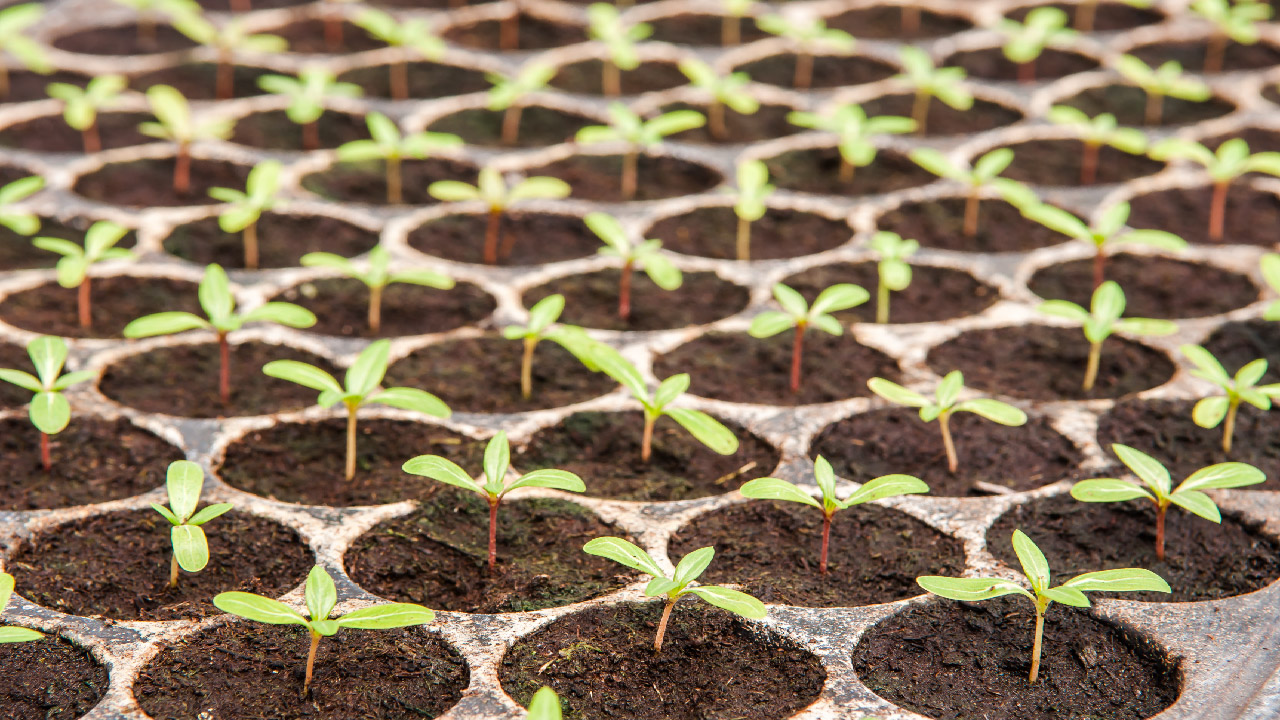
To give your plants a head start and get the most out of your growing season, you can decide to start your own seeds. Cheaper than buying sprouts, simple to learn and effective in the garden, seed starting is a great way to get the homegrown plants you want. It's also the best way to ensure your seeds are raised the way you want them to be, whether that's organically or without synthetic fertilizers. Here, we'll give you an overview of the top 5 seed starting tips you need for success.
- Decide what you want to grow
Though we all dream of lush, verdant gardens of overflowing veggies, it's important to focus on the plants that are most important to you. If you don't like zucchini, it won't do you any good to have them in abundance come mid-summer. Planning is essential. Make a quick list of all your favorite vegetables or annual flowers. Next, do some research. Is your growing season long enough for the plants on your list? Do you have enough of a head start for the plants to reach maturation? Do the seeds require any special germination techniques, like cold storage or scarification? These are important details to read on your seed packaging before getting started. Different seeds have differing requirements, so you may need to create a specialized schedule for seed starting. - Determine when and where to grow your seeds
Depending on your available space and climate, you may be starting your seeds indoors or in an outdoor greenhouse. In colder climates with a later frost date, it may be more beneficial to get your plants started indoors. Be sure to read your seed packaging carefully to ensure you are planting them at the right time. Though we're all anxiously awaiting summer, starting earlier is not necessarily better! Tender vegetables like peppers and tomatoes are very susceptible to the cold, so they are best started indoors. Plants like cucumber, pumpkins and watermelon do not transplant well, and thus are best to direct sow in the garden. Root vegetables like carrots and beets don't like their roots being disturbed so it's safer to start their seeds right in the garden as well. - Get started with the right supplies
To start your seeds, you will need seed-starting soil and containers to put the seeds in (as well as the seeds themselves). It's best to ensure your soil is sterile, meaning there are no organisms like fungi or bacteria living in it. This can be accomplished by simply mixing your dirt with a bit of boiling water. Though you can start your seeds with potting soil, seed-starting soil is recommended because it is designed for optimal seed growth. If you want to avoid peat-based soils, coconut coir is a more sustainable alternative. You have many options for containers, including small plastic boxes, recycled plastic containers or biodegradable mini-pots. It's also possible to make homemade seed starting containers with egg cartons, toilet paper rolls or folded paper. - Plan your watering system.
- Harden off before transplanting.
There are a few different ways to make sure your fragile sprouts get enough water. First, you can try to remember to water them every single day. With this method, it can be helpful to water from the bottom to avoid overwatering. A misting system also works well because it prevents excess splashing or flooding that can displace small seeds. Overhead watering is simple, but it is easy to overwater if you aren't careful.
When the threat of frost has passed and your sprouts are strong, it is time to slowly acclimate them to the outdoors. The sun, wind and temperature changes can do great damage at the beginning if you aren't careful. One to two weeks before transplanting your sprouts, bring them to a shady location outdoors. Put them in the sun for small periods each day, increasing gradually. Don't put them out on especially windy days or when temperatures are below 45F. Reduce water frequency, but don't allow your plants to wilt. In no time, they will be ready for summer!

